A leaking shower is, without a doubt, one of the most annoying challenges you may encounter if you have a bathroom. When you’re faced with this kind of situation, you most likely will have a buzz of thoughts on your mind, like who do you call first, the plumber or the tiler? Would you have to take out your shower tiles to fix the problem?
I understand how you feel. Thankfully, there are some things to do to get you out of the messy situation. In this guide, we’ll be exploring how to fix a leaking shower without removing tiles. So, let’s get to it!
What Should you Do When You Discover a Leaking Shower?
Step 1: Identify the Source of the Leak
To inspect your tiles and shower, you may be able to DIY (do it yourself) or have to seek professional help.
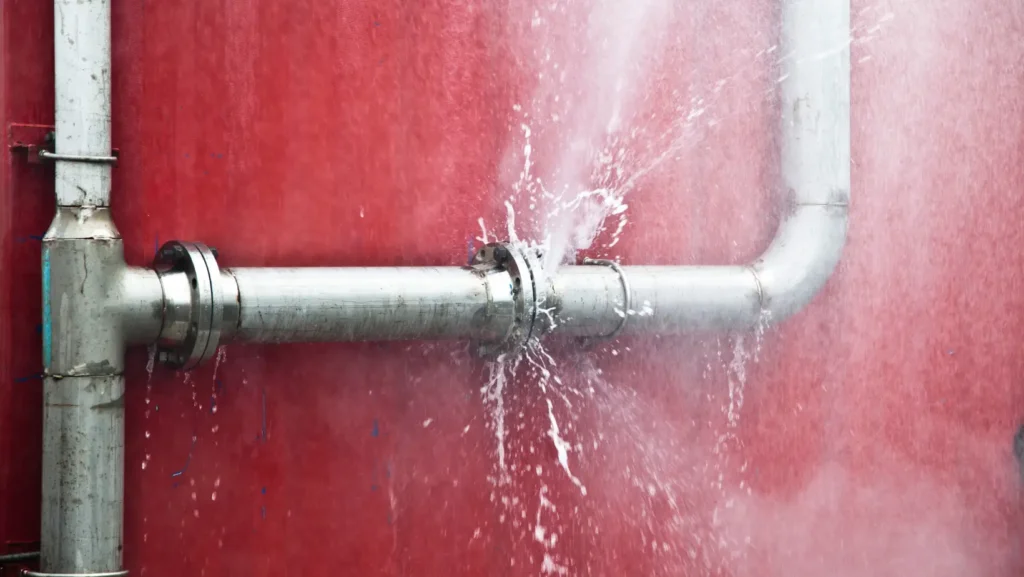
Usually, it is thought that the source of leaks is from the pipe, but in many cases, the pipes are fine. The problem is from the top of the tiles in your shower and not under.
If the grout or tiles are cracked, it might give way for water to drain into the seam. Also, check the silicone sealant and grout around your shower. If it is moldy, then you may need to remove the tiles, clean out the mold and replace their tiles.
Summary – To fix a leaking shower without removing the tiles, you must first identify the source of the leak. This can be done by checking for cracks in the grout or tile that may be letting water seep through. Once you have determined the source of the leak, you can move ahead to remove old grout and re-grout without taking out the tile.
Here are Some of the Common Places a Shower Could Leak
The Base of the Shower
If your shower leaks at the base, you can check a few things to see what might be causing the issue. First, look at the grout around the base of the shower. Are there any cracks or missing pieces? If so, water could get through those cracks, causing a leak.
Another possibility is that the sealant around the base of the shower is damaged or missing. This sealant helps to keep water from seeping out, so if it’s not in good condition, that could be causing your leak.
The Walls of the Shower
Shower leaks can occur in the joint between the shower tray and the wall. It is one of the most common areas for leaks, and it’s usually caused by molds in the grout or frequent movement of the shower tray.
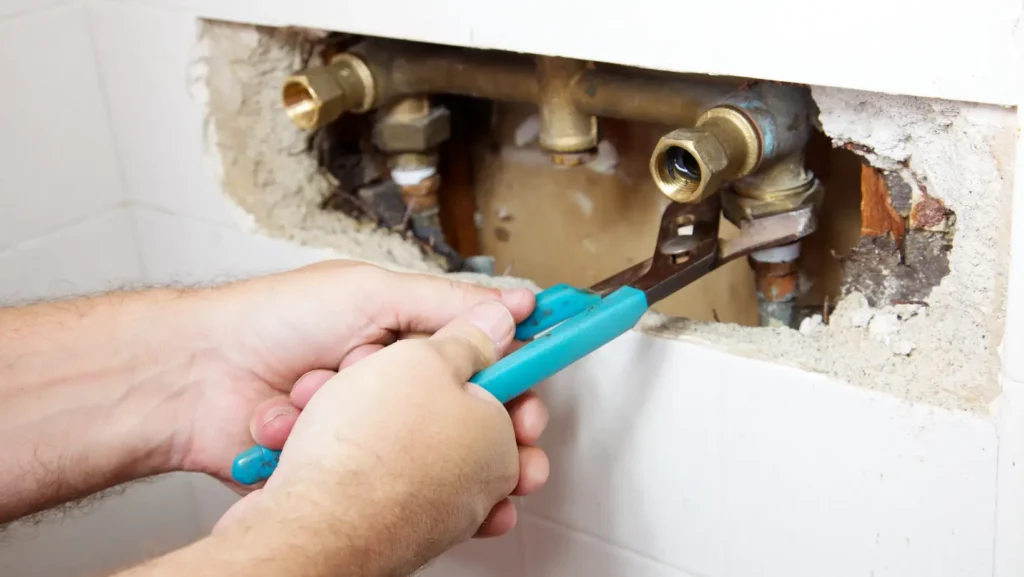
Mixer valve
Leaks may occur from the mixer valve. Check the seals around the mixer valve. Make sure they’re tight. If they aren’t, you’ll want to make sure the valves are closed before you start working on fixing the leak.
Step 2: Go on to solve the problem.
After you’ve found the source of the problem, you’ll be able to decide on whether to repair your leaking shower yourself or hire a professional to do the job, depending on the severity of the leak and tile type.
If you decide to seek professional help, the expert will use a special leak sensor and thermal image camera to detect the source of the leak.
From there, they’ll replace the cracked tiles, re-grout the floor and joints, and seal the shower surface with a sealant to establish an impenetrable barrier.
However, you can do it yourself by following slightly the same steps if you have the essential tools, knowledge, and products to fix the problem and trust yourself enough to produce a fantastic result.
How Do you fix a leaking shower without removing the tile?
Step 1:
To get started, ensure you wear safety gloves and a protective mask, and don’t use the shower for a minimum of 24 hours to ensure it is completely dry before repair.
Step 2:
Remove all silicone and existing grout.
To remove the existing grout from the affected tile, use the blade of a chisel or flathead screwdriver to scrape along the joint of the grout. Next, use a hammer to tap the blade of the screwdriver or chisel to loosen the grout. Be sure to remove all grout from affected areas.
Step 3
Use a Vacuum to remove excess dust and particles.
Step 4.
Spray the exposed seam with distilled white vinegar to remove mold that might have developed due to the moisture.
Step 5
Make sure tiles dry out thoroughly
Step 6.
After tiles are completely dried, re-grout the affected area.
- Mix a generous quantity of fresh grout and apply it to the seam of the tile with the grout spreader.
- Use the grout shaper to shape the slightly hardened grout.
- Wipe excess grout from the tiles using a soft, damp sponge.
- Leave the grout for a day to dry completely.
- After the grout is dry, clean the bathroom and mop to remove any debris. Then, let the bathroom dry completely.
Step 7
Apply masking tape to the edges of the tiles, leaving only the grout exposed. In addition, the masking tape will prevent the silicone sealant from spreading across the tile surface.
Step 8
Apply the silicone onto the grouted joints and smooth it out with your finger.
Step 9
Apply two waterproofing coats to keep moisture from seeping through the cracks and prevent tiles from leaking again.
Step 10
Let the sealer dry completely before using the shower again. If you notice any cracks or chips in the tiles after this process, make sure to apply the sealer to those areas.
Step 11
Run the shower for a few minutes to check if water permeates the tiles. If it does, you may need to apply another layer of sealer.
Why Should you Fix your Leaking Shower?
- If a shower leak is left for a prolonged period, it can;
- Weaken other structural parts of your home that are not waterproofed.
- Cause an unpleasant, musty smell in your bathroom
- Lead to the discoloration of your shower tiles.
- Lead to mold growth on and beneath your shower tiles, which is more expensive to fix and may result in other things like a loose shower tile, pest infestation, allergies, and skin infections.
- Your shower tiles will get slippery and can result in accidents.
Hence, a leaking shower must be fixed as soon as it can.
FAQs On How To Fix A Leaking Shower Without Removing Tiles
Is a Leaking Shower Dangerous?
If your shower is leaking, it could cause mold to grow. Mold can be unpleasant to see or inhale, and it can also be harmful to your health.
How long do I have to wait till I can use the shower again after it has been repaired?
You can begin to use your shower again within 24 hours after it has been fixed.