Imagine the event after the hustle and bustle of a stressful work day; all you eagerly want to do is take off your shoes and all forms of clothing as you move swiftly to be in the bliss of your feet to the cold shower floor.
Music plays calmly in the background, and your eyes close to drift in the relaxation that creeps into your bones from shoulder to foot while water flows down your back. And just during the process, you move a few inches, stumble across the uneven tile surface, bang your head and break your jaw. Doesn’t seem like a nice end to me. An uneven tile shower floor should not be tolerated and must be dealt with.
Summary – The most appropriate way to fix uneven tile shower is to take the entire tiles out from the shower floor and begin from the scratch. However, you can consider removing affected tiles from the shower floor and repairing them as an alternative.
Reasons For Uneven Tile Shower floor?
There are a few causes for uneven tile shower floors. But its main reason is wrapped around “poor installation“; the lack of appropriate skills and knowledge of the tiling process. Some additional causes may include:
Uneven Substrate
An uneven base floor will inevitably produce an uneven tile floor if not properly corrected. Surface preparation is pertinent for any tile installation or groundwork.
When the surface is not correctly leveled, the bumps in the floor will be projected while tiles are on it. A skilled contractor should grind any bumps on the concrete floor or fill in the low variation with a thick underlay to create an even surface.
Use of Improper Tile Type
Using bent or old tiles may cause an uneven tile shower floor. While using this kind of tile may seem conservative, it is not the best and should be dispelled. Old tiles lose their flexibility and become easily cracked over time, which causes an uneven tile floor.
Tile Pattern
Tiles come in various textures, shapes, heights, and patterns. Unconventional or irregular tile patterns can reveal these differences, thereby causing an uneven floor.
Poor Quality Tile Adhesive
Tile adhesive is a blend of cement, fine sand, and added substances to improve basic properties for laying tiles, giving it more strength and flexibility. When a poor-quality adhesive is used, it causes shrinkage and cracks, resulting in uneven tile floors.
If the cause of the uneven tile shower floor is those stated above or not, the most important thing is that it is fixed.
How do You Fix an Uneven Tile Shower Floor?
The first major step is to “ Get a knowledgeable and professional tiler”! Yes, While all different methods to fix an uneven tile shower floor matter, it is requisite that a skillful and experienced hand do the work.
Completely ripping off the tiles from the shower floor and starting from scratch may be the first thought in our minds when faced with such a situation.
However, there are other options you can consider, depending on the degree of unevenness. Analyzing the condition of the uneven tile shower floor will allow us to determine the best course of action.
The various DIY ways to fix an uneven tile shower floor:
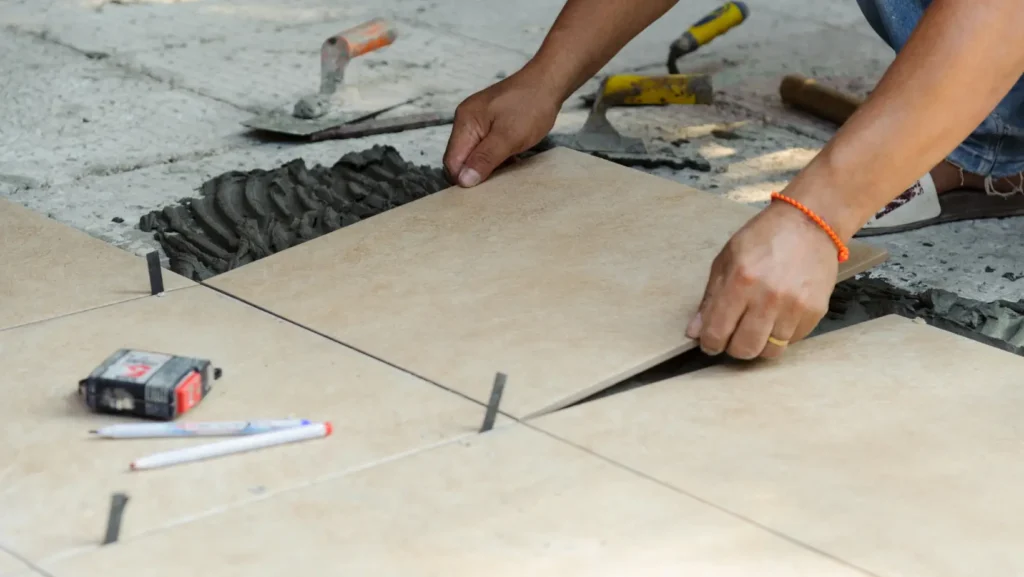
Method One: Remove All Tiles From the Shower Floor and Reinstall
You can rip it all out and renovate if you have an overly uneven tile shower floor. Completely remove all shower floor tiles and start over. The benefit of starting over is that you can oversee the new installation from start to finish and ensure that you have done proper work. How is this done?
- Start by removing all old tiles.
- Then, prepare the sub-floor. To do this, Scrape the old mortar from the sub-floor and ensure that the surface is free from imperfections.
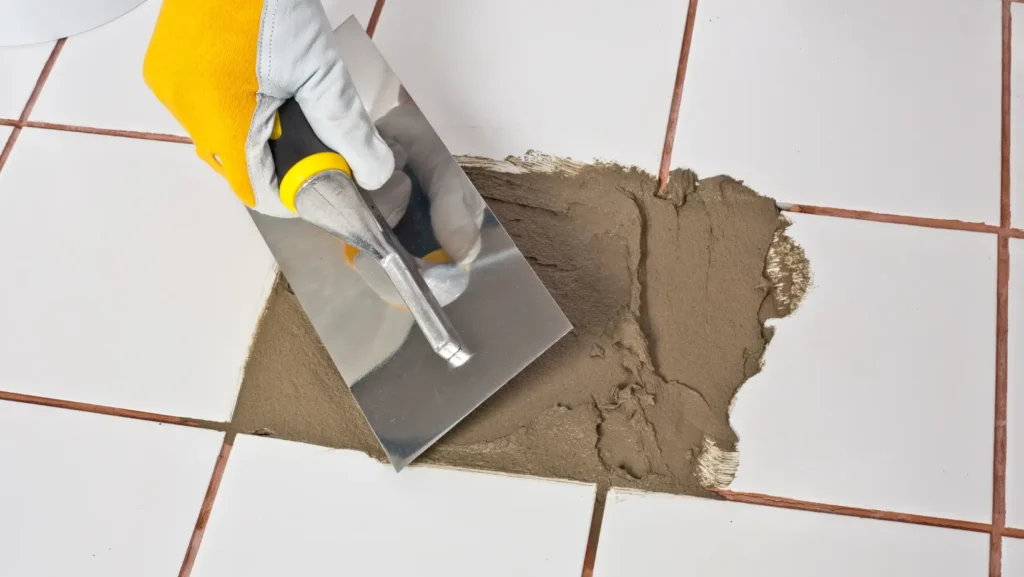
- Next, make a layout, then mix and apply mortar to install your tile
- Now, properly grout tiles – use a grout float to apply grout into the joint after you have removed the spacers and take off excessive grout.
- Sealing the grout – sealing the grout keeps water from seeping under the tile.
Note: It is important to cut tiles to fit into the shape where necessary.
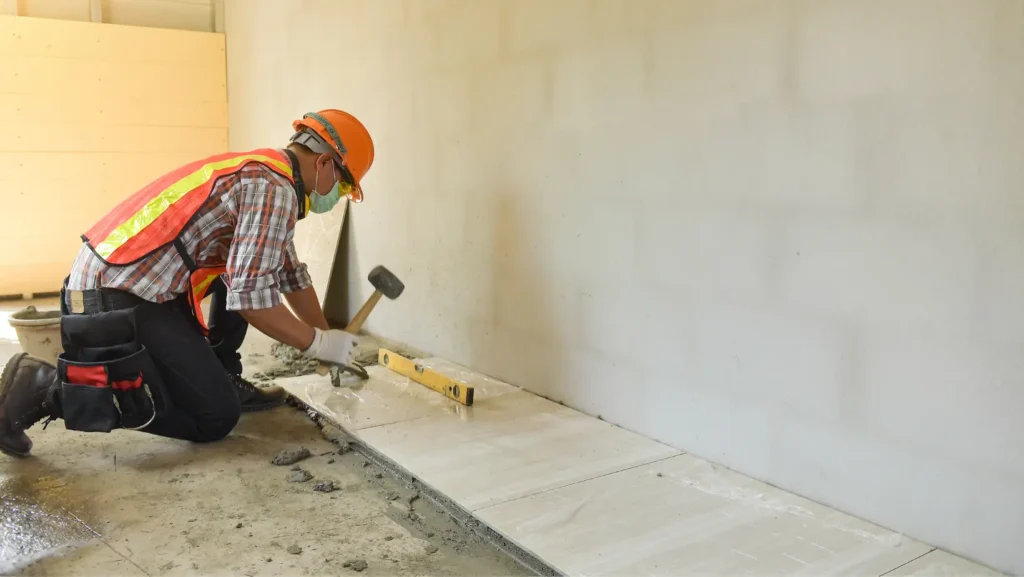
Method Two: Remove Affected Tiles From the Shower Floor and Repair
It is palpable that starting from scratch is annoying and costly, and tedious. If the condition of the uneven tiles is mild, removal of the affected tiles can be the easiest solution. However, you must strictly adhere to some steps to successfully achieve this.
- Cover the tiles on the side of the uneven tile with painter’s tape to protect the surrounding tiles.
- Place the blade of a chisel or flathead screwdriver along the joint of the grout and use a hammer for tapping to remove the old grout around the uneven tiles.
- Slide the chisel or flathead screwdriver into the grout line and begin prying up the tile. Work gently to prevent breaking the tile so that you can reuse them and reinstall them evenly.
- Scrape the remaining old mortar out of the shower floor with a stiff blade scraper.
- Sweep away any debris left with a wet-dry vacuum cleaner.
- Set the replacement tile, or you can choose to reuse the old tile if not broken during removal.
- Apply a thin set or adhesive. In this process, check the shower floor level before removing the tile, so the new tile will sit evenly with the surrounding tiles.
- Reinstall tiles.
- Then, re-fill the grout – use a grout float to smoothen the grout line surface. Remove excess grout and allow the grout to dry.
Method Three: Tiling Over the Existing Tiled Shower Floor.
We often consider this an irrational approach, and it’s probably a way of fixing an uneven tile shower floor you wouldn’t want to attempt. But this method has proven to be effective and time-saving. It displaces the hassle of removing old tiles and restoring new ones.
Before choosing this method, you must consider that laying tiles over old tiles would add height to your floor. If you have checked and it’s fine by you, you may proceed to implement this method.
To get started;
1. Access the Existing Tile Installation
- Mark the high and low points to have an efficient surface preparation on how the tile layout should be. The whole point of installing another shower floor is to have a perfectly tiled floor, so you don’t want to miss out on that again.
2. Make your Tile Surface Ready
- Roughen existing tiles so that mortar sinks and new tiles stick.
- Remove old grout and clear the surface.
- Use a quality thinset mortar that should be thick enough to hold new tiles. It should have a thickness of about 6.35mm.
- Make use of mesh tape to stabilize thin set mortar and cover cracks.
3. Apply Thin-set Mortar to Each Tile
4. Lay tiles
- Position them as required.
- Add extra mortar to raise the low point for an even floor.
5. Leave it to Dry
6. Grout Joints in Between Tiles
Some materials needed to fix an uneven tile shower floor
- Replacement tile • Grout
- Mortar. • Hammer
- Chisel. • Safety goggles
- Work gloves • Scraper
- Vacuum. • Trowel
- Painter’s tape • Thin-set mortar
- Carpenter’s level. • Grout float
- Masonry wheel • Belt sander
Frequently Asked Questions
What is the Best Type of Tile to Prevent an Uneven Shower Floor?
No type of tile can prevent an uneven shower floor if the basement is uneven. It is important that the subfloor is properly leveled and tiles are skillfully installed. But, there are various kinds of tiles, including ceramic, porcelain, stone, marble, and granite. Porcelain is without a doubt the most popular choice for shower floors because it is amazingly durable and water resistant.
Is it compulsory to grout tile after installation?
A short answer is, Yes, it is necessary to grout tile after installation. It makes the tile work last longer and reduces the chances of tile breakage or cracking.