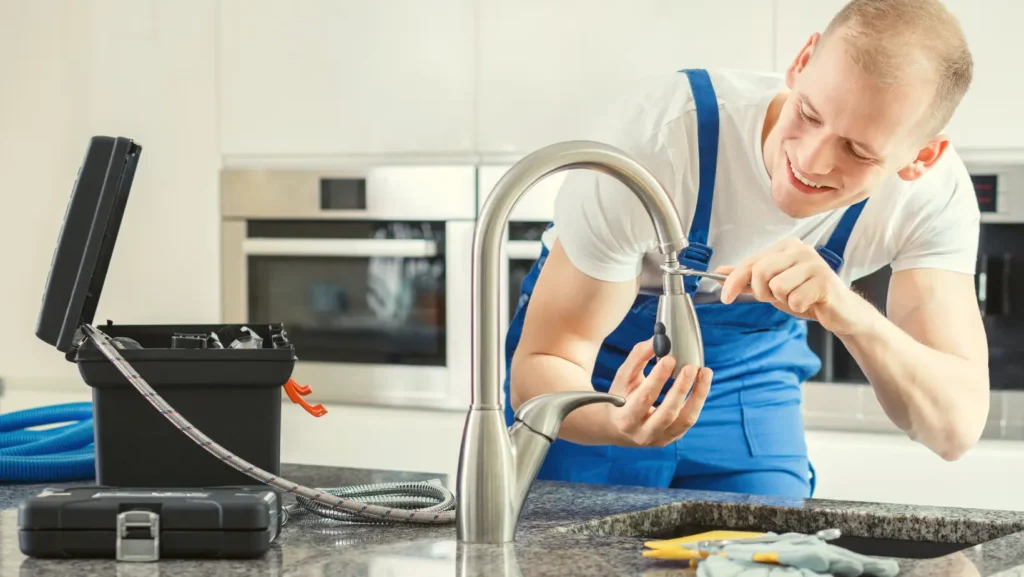
I understand how frustrating it can be when your kitchen tap starts seeping water instead of gushing it out. Not only will this slow down your cooking and dish cleaning, but it can also be a pain when you need to fill a glass of water quickly in an emergency.
But slow water pressure or a leak in your kitchen sink shouldn’t stress you out because you can fix it yourself. This guide will show you simple DIY plumbing tips to help you increase the water pressure in your kitchen sink.
Causes of Low Water Pressure in Your Kitchen Sink and How To Fix Them
If you begin to notice that your kitchen faucet isn’t bringing out water with enough pressure as it used to, the first thing to do is check other taps in the house to be sure it is not an isolated problem. If all the taps in your house are affected, then the problem could be a leak or blockage in your main water line.
But before you jump to that conclusion, you might want to check with your neighbor to see if the problem is general. If so, contact your water supplier to know what’s wrong and when the problem will be fixed.
However, if the problem is exclusive to your apartment or your kitchen faucet, you should investigate deeper; the solution could be simpler than you imagine.
Summary – Low water pressure in a kitchen sink is most often caused by a clogged aerator or cartridge, a problem with the shut-off valve, or a blockage in the supply line. To restore the proper operation of your kitchen sink, just inspect, clean, and fix the aforementioned parts. But if you can’t find the problem in these parts, call your water supplier or a professional plumber to help inspect and fix the problem on your kitchen faucet.
Six (6) Ways to Troubleshoot and Fix Water Pressure Issues in Your Kitchen Sink
1. Check the Aerator
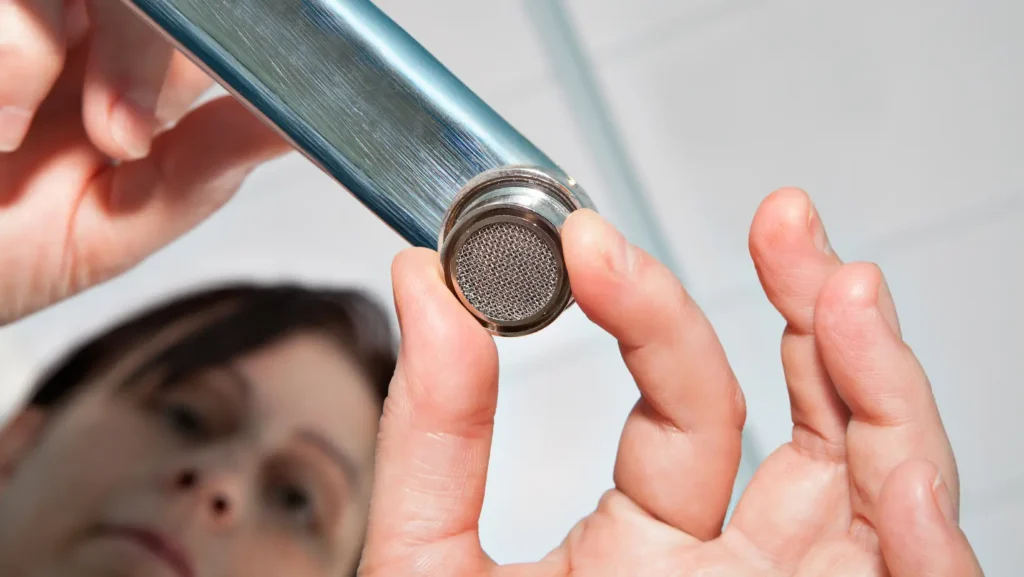
The aerator is a good place to start troubleshooting the affected tap. An aerator is a screen that is located at the tip of the faucet. It is the final part that water touches before flowing into the sink. The aerator acts as a filter, collecting particles and hard water minerals as water flows through.
Over time, the aerator becomes clogged with debris, causing water pressure to drop and the sink to seep water slowly. But when this happens, it’s easy to clean the aerator and get it working again.
How to unclog the faucet aerator;
- Unscrew the aerator from the faucet using a pair of pliers. It is advisable to wrap a piece of cloth or a rag around the pliers, so they are easier to hold on to.
- Then, using a toothbrush, scrub the removed metal or plastic screen.
- You can also soak the aerator in a vinegar solution overnight to completely remove built-up debris.
- After cleaning, reattach the aerator to the sink’s faucet.
- Turn on the faucet again to see whether the water pressure has improved
- It is recommended that you unscrew and clean the aerator every few months to prevent blockages and increase the life of your faucet.
2. Check the Cartridge
If, after cleaning the aerator, the water pressure remains low, check the cartridge. The cartridge is a small disc that sits deeper in the faucet assembly. It also collects a lot of debris and can become clogged.
Here’s how to fix a clogged faucet cartridge:
- Turn off the water valve underneath the sink.
- Remove the cartridge covers and handles with a screwdriver. (Because faucet models differ, the cartridge component is usually slightly different. To remove your faucet cartridge, follow the instructions that came with your model.)
- If there is a lot of debris inside the cartridge, it must be replaced. But, if the cartridge is still new or contains only a few particles, it can be cleaned and returned to the faucet.
- To clean the faucet cartridge, soak it in a vinegar solution overnight.
- After soaking the cartridge in vinegar, rinse it under hot water and reinstall it in the same order that you removed it.
- Turn on the water to check the water pressure. It should now flow more smoothly.
- When replacing the cartridge, take the one you removed to a hardware store to ensure that you get the correct type.
3. Open the Shut-off valve
The shut-off valve controls water flow into your kitchen faucet in the same way the main valve controls water flow into your home’s pipes.
Sometimes, the shut-off valve can be accidentally closed or partly opened during repairs and routine maintenance. So, if the water pressure in your kitchen dropped just after work was done, it’s possible that the contractor turned off or only partially opened the water valve after the job was done.
This is the simplest issue to resolve in your water system;
- To increase water pressure in your kitchen sink, simply locate the shut-off valve under your sink and turn it on.
- And if the shut-off valve is damaged, replace it.
4. Check the Supply Line
If neither the faucet nor the shut-off valve is the culprit, the issue could be with the pipe that supplies water to the kitchen sink. The pipe may have become clogged with mineral particles and needs to be flushed.
How to unclog a plumbing line;
- First, locate and turn off the hot water valve under your sink.
- Disconnect the supply line from the hot water valve and place it in a bucket to catch any spilled water.
- Turn on the faucet until the water reaches a neutral temperature. Allow 10 seconds for the water to run before shutting it off.
- This way, cold water will come through the faucet and flush the hot water line into the bucket.
- Reconnect the hot water supply pipe and repeat the same process with the cold water line.
5. Check the Pressure Regulator
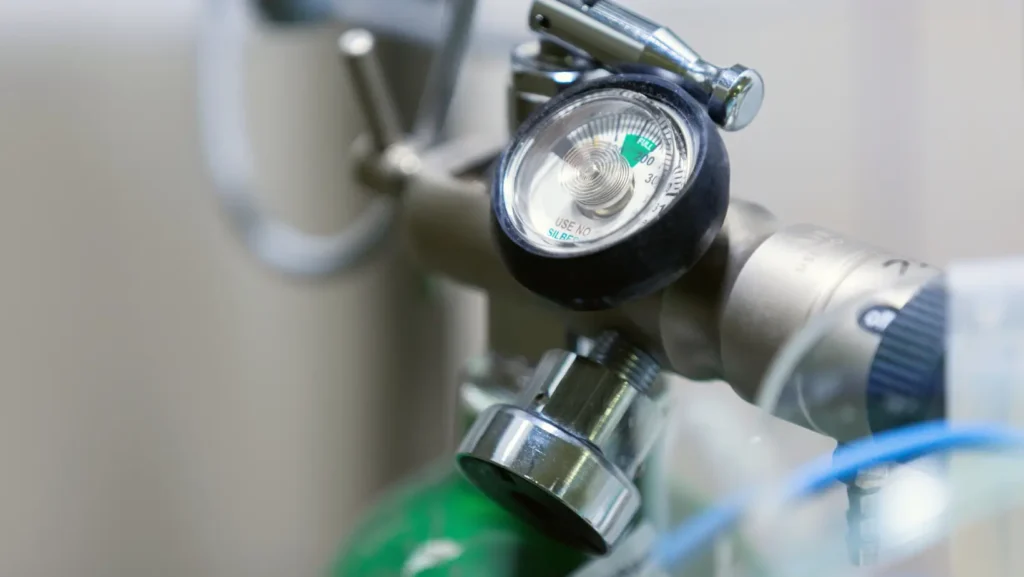
If you get your water from a municipal water supply, you almost certainly have a water pressure regulator (or pressure-reducing valve) that regulates the flow of water entering your home. The pressure regulator can be found at the meter or somewhere along the supply line.
When the pressure regulator becomes faulty, water pressure issues start to arise, and some fixtures in the house may be affected before others. As such, the low water pressure in your kitchen sink may have been caused by the faulty water regulator.
To fix a faulty water regulator;
- Check your main supply line to locate the pressure valve.
- Using a wrench or any other tool, rotate the valve to turn it on.
- And if damaged, call a plumber to replace the pressure valve.
6. Call a Plumber
Asides from the 5 troubleshooting ideas listed above, other technical issues can lead to low water pressure in the kitchen sink. For example, if a leak or corrosion in the plumbing line is the cause of low pressure in your kitchen sink. You will almost require a professional’s services to check for leaks and repair the plumbing line. Similarly, if the issue is with your water heater, you need a professional to fix it.
Consequently, if, after checking every possible cause of low water pressure in your kitchen, you still are unable to fix the problem, then it’s time to call a plumber.
Frequently Asked Questions
How do I fix the hot water pressure in my kitchen sink?
If only the hot water pressure is low, but the cold water is running well, your water heater is most likely to blame. To fix this, try flushing the hot water supply line to see if the hot water pressure improves. Then, flush the water heater to remove mineral buildup.
Why has my kitchen Tap stopped working?
The most common cause of a tap not working is a clogged water line or faucet. To fix this, flush the plumbing line or replace the tap. A leak in your plumbing pipe can also cause the kitchen tap to stop working. If you find any leaks, call a plumber to repair your pipes.